We have made this blog to assist you in installing your artificial hedges. If you get stuck, feel free to contact Designer Plants for assistance.
After you have received your product from Designer Plants, your artificial hedges will come by 1mx1m. The hedges come in a grid-like format.
How to install your artificial hedge panels?
The arrows of the hedges on our photnia and laurel range indicate the angle the panels the artificial hedges should go on. This will make the hedges look like they are growing like a normal plant.
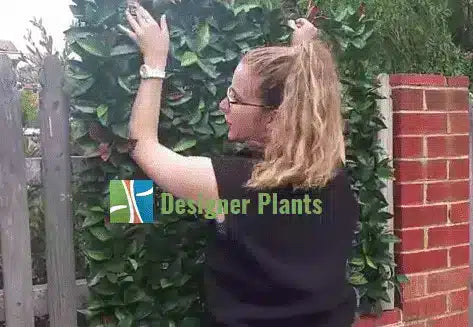
Step One: Hold the hedges up against the surface you are using.

Consider what items you'll need to install the hedges.
- For partition or concrete: Drill, Hammer and screws to secure.
- Wood or drywall: Hammer, screws and hooks.
- Trellis or meshcone: Cable ties.
When applying the hedges, double check the leaves are pointing upwards, in the direction of the sun like normal hedges. Thus, giving it that natural look and feel.
Step Two: Move the leaves from artificial hedges back so you can see the grid-like structure, securing hedges to your surface.

If you are using a staple gun such as for a wooden fence to apply your artificial plant panels, make sure you staple it along the grid. Further, ensure the staple is on surface area, so it remains in place.
To add further stability, add more staples to the fence and grid-like structure. If you make a mistake, use the back of a hammer or screwdriver to remove the nails from the fence.
When using other tools, apply the same rules where appropriate.
Step Three: To finish up add more staples or holding items to your artificial hedge panels.

Be sure to check there is no bottom or side gaps along the edges of the panels. Also, avoid overlapping hedge grids over one another as this will tarnish the natural look and feel of your artificial hedges.
When attaching another panel, secure it using the hole and plug system on the panels. This process will also make installing the hedges easier.
If there is any excess around the edges, use scissors to cut the grid carefully.

1. Get a friend or family member to help you when installing.
2. When cutting excess, be sure to avoid cutting leaves. Make sure you only cut straight and remove the grid parts you do not need for your fence or surface area.
3. If you think the above is, too confusing, click here to visit our how to page. We include a handy install guide that is easier to read plus a video demonstrating the installation.
In the event, this is too much you can always purchase our instant hedges that are just as great, but easier to place in your home or business.
Or if you're in Melbourne click here for us to provide you with a free no obligation artificial hedges installation quote.
So there you have it, that's how you can install your artificial hedges in more than three ways.