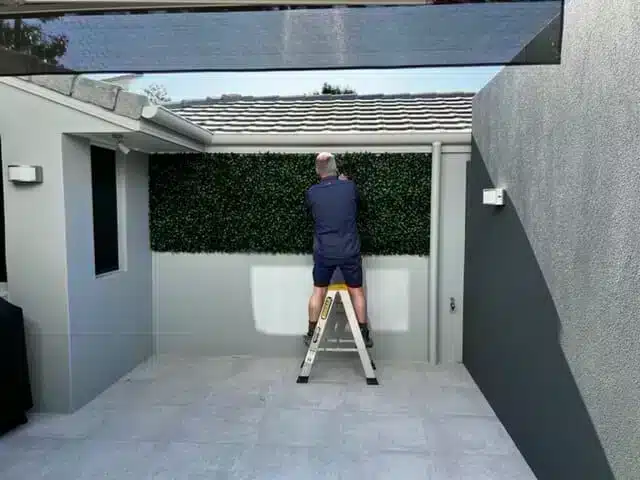
How to Install Artificial Hedges & Vertical Garden Panels
3 easy steps to install an artificial hedge or vertical garden
- Order the desired number and dimension of hedge panels or vertical gardens to fit your wall, fence, or structure.
- Connect panels (if needed, they can be easily cut down to size using a pair of scissors and then joined with cable ties).
- Staple, tie, screw or adhere panels to fence or wall, making sure to securely attach them.
In minutes, you’ll transform your property by creating a green wall that requires absolutely no maintenance and looks great 365 days of the year. Plus 1 on leap year.
Handy Hint – If you have an area that is smaller than the green wall panel I.e a 2.8m length and your panels are 3m in length, simply cut 20cm off.
Check out our handy PDF guide on How to Install You Artificial Hedges & Green Walls.

Watch our "HOW TO" videos
How to install green wall on cyclone fence?
Watch Georgina teach you how to install artificial plant walls, green walls, vertical gardens and boxwood hedges onto a cyclone fence. Artificial hedges instantly improve privacy and improve your property value.
- Step 1: Place the Cypress hedge panel on the Cyclone fence you want to attach it to
- Step 2: Take cable ties and pass them through the plastic grid as it goes around the cyclone fence, and comes back through it. Secure the cable ties and tighten them.
- Step 3: Repeat the process on the other side to secure the Cypress hedge panel appropriately.
- Step 4: Cut the Cypress hedge panel following the grid behind and repeat the process for any leftover spaces.
- Step 5: Take a pair of scissors and cut over the excess cable tie that can be seen.
How to install artificial hedge panels on wooden fence?
Learn how to install your artificial hedges, vertical gardens and fake green walls including artificial boxwood hedges or artificial wall plant with our quick video. Plus some bonus handy hints to assist you along the way.
- Step 1: Gather all your supplies; Nylon Plugs, Washers, Drill Bits, Hammer Drill, and Hammer. Gather your safety equipment too, Safety Glasses, Gloves, and Ear Muffs.
- Step 2: Place your artificial hedge on the level of the wall you want to attach it to and mark it down using a Sharpie. Repeat the process on the other side.
- Step 3: Drill the marked points on the wall using a Hammer Drill, but not before wearing your safety gear.
- Step 4: Pass the Nylon Plug through the washer and put them both through the hole you drilled. Put the hedge on the wall and put the washer in the hole. While putting it through make sure that a part of the washer is on the grid of the hedge to secure it. Hammer the nylon plug into the wall.
- Step 5: Repeat this step on both drill holes to secure the artificial hedge on the wall.
How to install artificial hedge panels on masonry, brick or render wall?
Learn how to install artificial hedges on a masonry, brick and render wall or fence with our latest video starring our customer service guru Georgina.
- Step 1: Measure the distance between the top 2 holes on your Disc
- Step 2: Measure on the wall the same distance between the 2 holes and mark the wall so you know where to drill.
- Step 3: Drill into the wall where you marked. Mark sure to drill in far enough for the screws you are using.
- Step 4: Hammer in the Nylon Plug into the holes you’ve drilled. Do not hammer them in all the way.
- Step 5: Line up the holes on your Disc with the head of the Plug and hang your Disc. Make sure it’s secure before letting go.
How to install faux green wall discs?
Learn how to install artificial green wall discs (disks) onto a masonry wall, or other solid surface. Featuring Georgina, our customer service guru. It really is simpler than it looks!
- Step 1: Measure the distance between the top 2 holes on your Disc
- Step 2: Measure on the wall the same distance between the 2 holes and mark the wall so you know where to drill.
- Step 3: Drill into the wall where you marked. Mark sure to drill in far enough for the screws you are using.
- Step 4: Hammer in the Nylon Plug into the holes you’ve drilled. Do not hammer them in all the way.
- Step 5: Line up the holes on your Disc with the head of the Plug and hang your Disc. Make sure it’s secure before letting go.
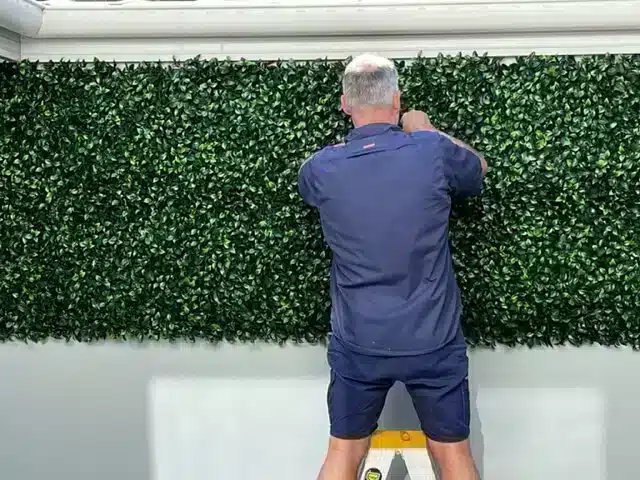
How to install Designer Plants’ premium green wall range?
Learn how to install premium artificial green walls onto a masonry wall, or other solid surface. Attaching our stunning bespoke green wall range is easier than ever.
- Step 1: Drill a hole into the concrete wall or whatever other surface you want to apply it on. Screw in a hanging hook. Hang the hedge from the grid to the hook
Another way
- Step 1: Drill a hole onto the wall after marking the placement of where you want the hedge panel to be.
- Step 2: Push a nylon plug and washer through the hole. You can either use a nylon plug or a screw to secure it.
- Step 3: Make sure that a part of the washer is on the grid of the hedge to secure it. Hammer the nylon plug into the wall.
Friendly Tip: Recommended Six to Eight anchor points for outdoors. And Four to Six for indoors.
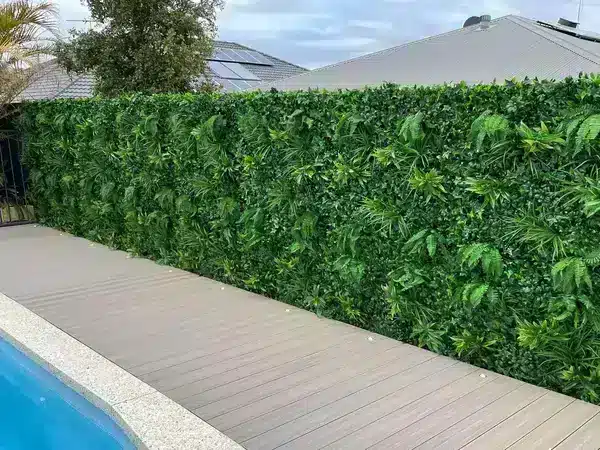
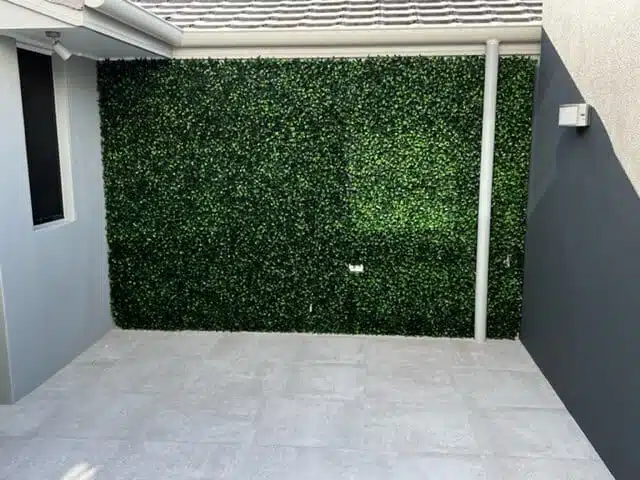
Add Colour To Your Artificial Vertical Garden Easily!
Designer Plants stunning, hand-assembled and ultra realistic vertical gardens, green walls and fake hedges can be quickly and easily transformed into a unique and colourful custom-made vertical garden with a touch of colour
- Step 1: Take the stems of your choice and put them in the hedge you want to add them to.
- Step 2: Cable ties those colourful stems to the grid of the hedges.

Do you have another surface in mind?
If you have another kind of wall that you are looking to attach a green wall to, please let us know today!
But as a general suggestion, if you can get a cable tie through the gaps of the fence or wall then consider using cable ties as these are a non-invasive, easy, and DIY method to attach too.
We also have a range of handy tools to assist with installing your fake hedge or green wall available here.
Please note that we have depicted various panels in this guide, including the boxwood hedge, however, all the non-metal backed panels are very similar with regards to their installation process.
How to install artificial hedges onto a timber fence?
- Connect the panels together (using the clips or your own cable ties)
- Cut the panels to the exact size required (our panels can be easily cut to size)
- Staple the boxwood mat, or other hedge design or vertical garden directly onto the fence by securing the plastic matting to the surface
Note: We would recommend that for each green wall panel (1m x 1m) you staple 4 staples across the top and then 3 rows of 4 more staples to ensure secure attachment.


Finished Colourbond Fence

Keep Attaching
Attach Panels & Screw Them To The Timbers
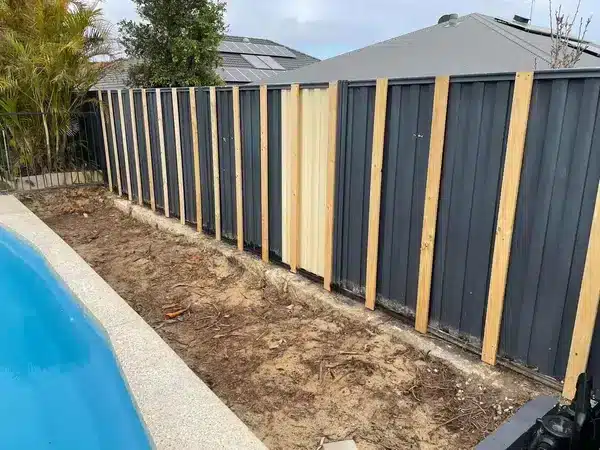
Attach Timers on Around 40cm Space
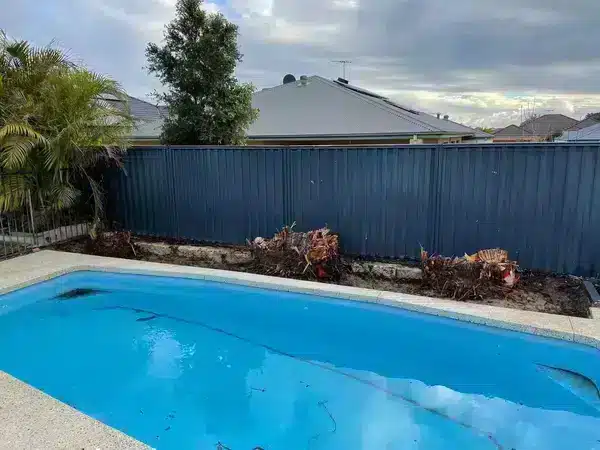
How To Install Colourbond Green Wall Fence
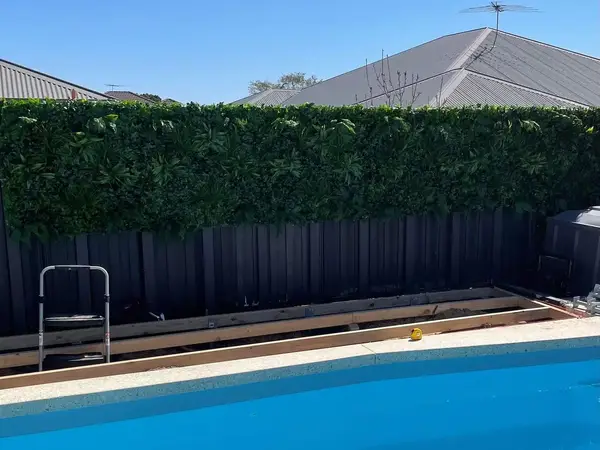
How to install artificial hedges & green walls onto a metal fence? or colorbond fences
- Attach timber beams vertically to the metal fence spaced at intervals of around 40cm. You can then add a horizontal beam across the top and bottom by attaching it to the vertical posts.
- Attach the hedge panel or vertical garden / green wall to the timber beams, or directly into the fence using a screw and washer. We would suggest attaching the panels using around 12 screws + washers per meter panel of green wall.
- Continue to join each panel using the clips and repeat step two ensuring to securely fasten your artificial hedge or green wall directly to the timber supports.
Note: You may also choose to attach your plant wall directly into the metal using a metal screw and washer combination, however, please note that this may not be suitable as the screws are likely to poke though into your neighbours property!
Please note that the timber can be attached at the top and bottom (using the capping) of the fence to avoid screws going through the metal and being exposed on the other side.
How to install artificial hedges & green walls onto a rendered wall or cement sheet fence
- Begin by choosing your wall, and ensuring you have the correct tools, for a cement sheet wall we suggest you use: a drill, a cement sheet drill bit and cement sheet screws + washer.
- Commence attaching your first panel, starting in a top corner. You will need to drill a hole in the top corner and then hold the green wall panel up and proceed to screw in. Ensure the top of the screw and washer covers the backing mesh of the vertical garden panel
- Proceed to attach screws in a similar manner every 25cm.
- Once your fist vertical garden panel is installed, clip the next panel to it (using the lugs on the panel), and proceed to screw in at 25cm intervals. You can then proceed to attach the bottom row by clipping onto the top row. Should there be any excess panel (height wise) you can time that off with scissors.
- Once all panels are installed proceed to lightly pull on them and if any sections bulge add more screws / washers.
Please note that the timber can be attached at the top and bottom (using the capping) of the fence to avoid screws going through the metal and being exposed on the other side. Please refer to the install guide above for ‘metal fences’
Attach Additional Panels Until Whole Surface Is Covered
Clip The Panel Joints Together
Start In Top Corner By Attaching and Securing The First Panels
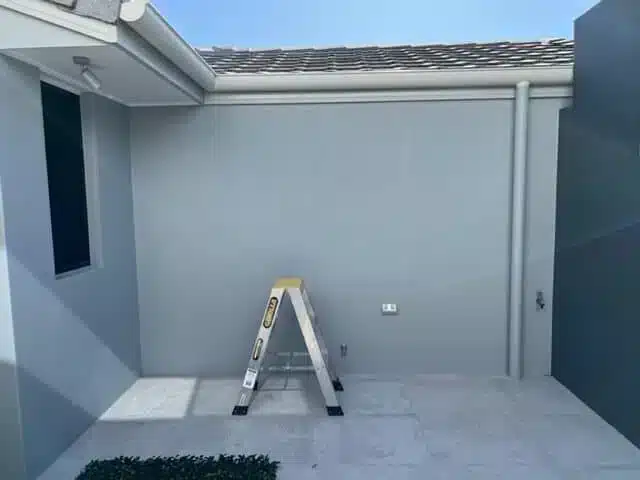
Choose The Wall To Beautify

How to clean or maintain an artificial green wall?
If you’ve installed an artificial green wall recently or want to learn more about their maintenance, check out our handy guide (below) on how to clean you artificial vertical garden panel. Rest assured though, the maintenance is really simply and easy. You’ll never have to worry about wilting, dying or overgrown plants again.
DESIGNER PLANTS
So easy! Order your hedges and vertical gardens online
-

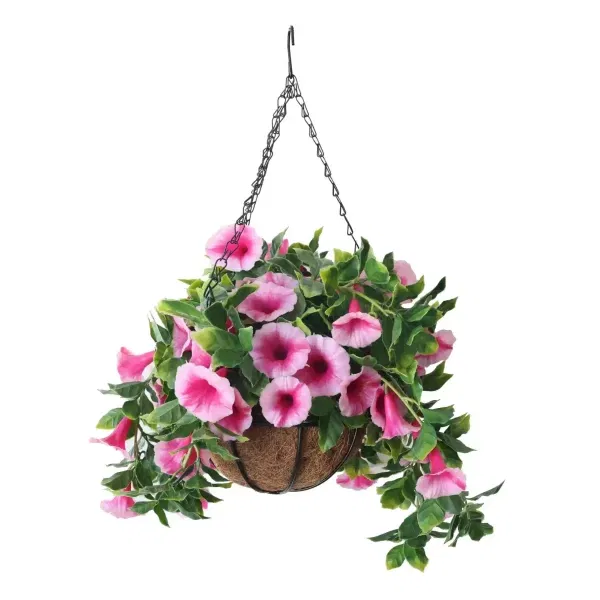
Artificial Petunia Hanging Basket UV Resistant 28cm
$78.00 Inc GST Add to cart -
Artificial Spring Evergreen Hanging Basket UV Resistant 43cm
$99.00 Inc GST Add to cart -

White Mixed Hanging Foliage UV Resistant 60cm
$9.95 Inc GST Out of Stock -
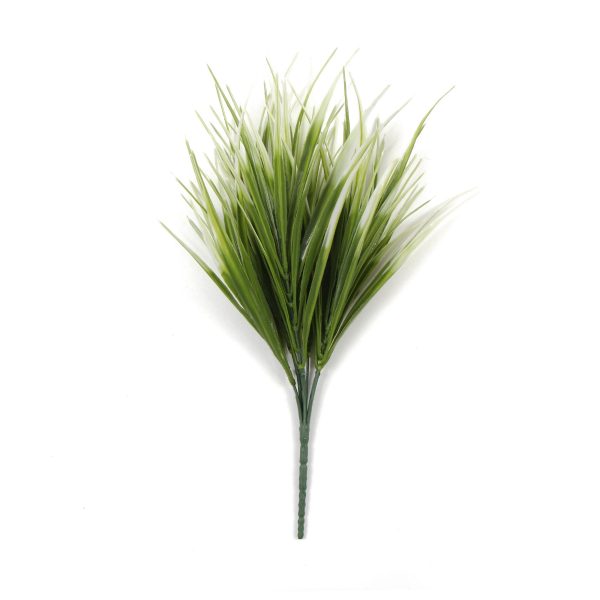
White Tipped Grass Stem UV Resistant 35cm
$9.95 Inc GST Add to cart